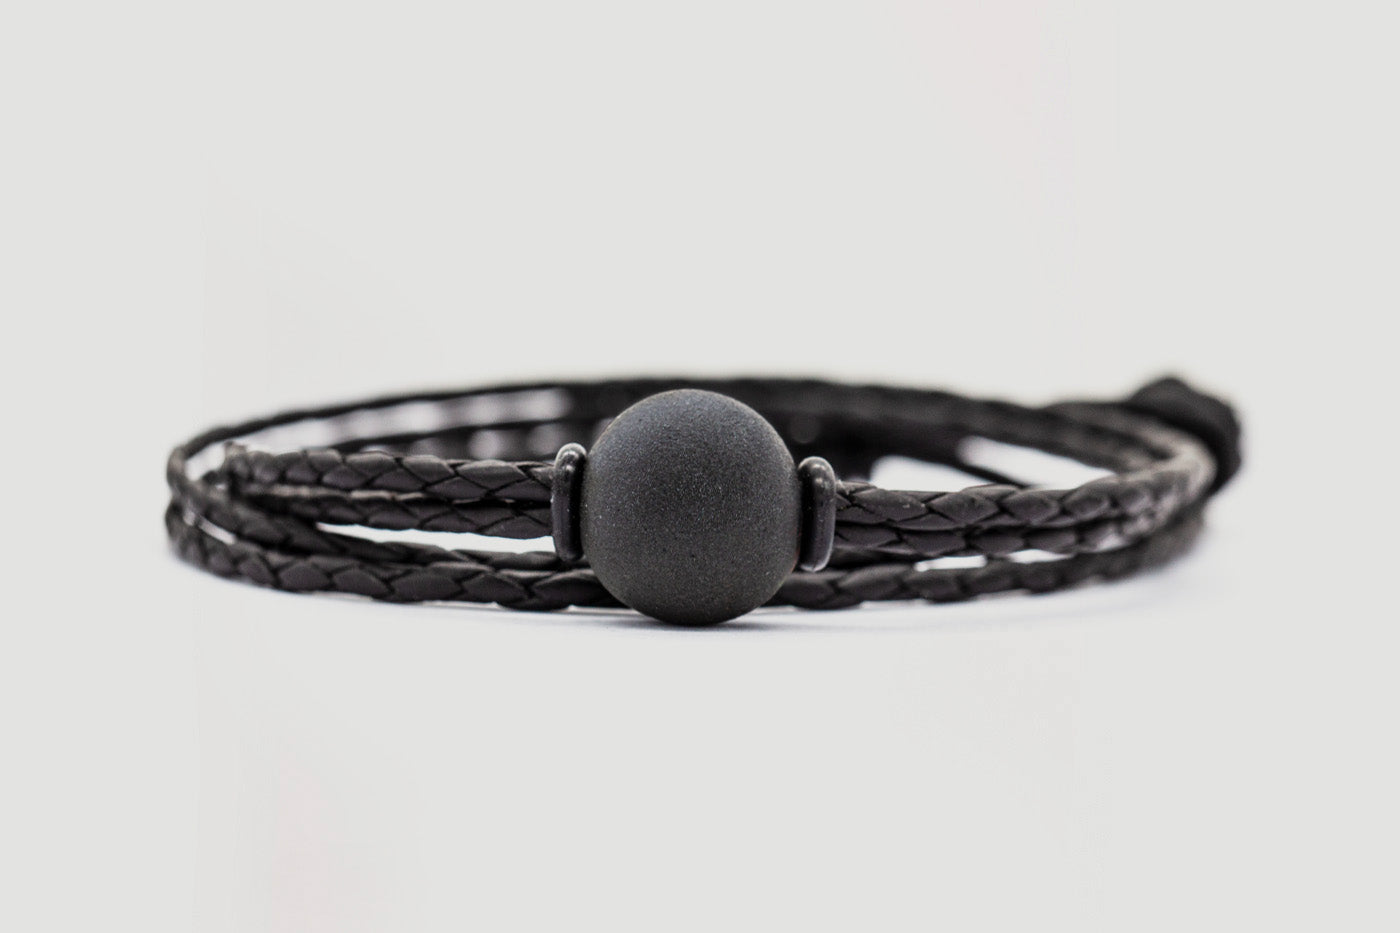
DIY keepsake
jewelry made from hair or ashes
In the section below, you’ll find a brief summary of the steps involved in creating your own personalised bead with soul. It’s important to follow the instructions on this page carefully to achieve the best results. You can find frequently asked questions and detailed information in our FAQ section.
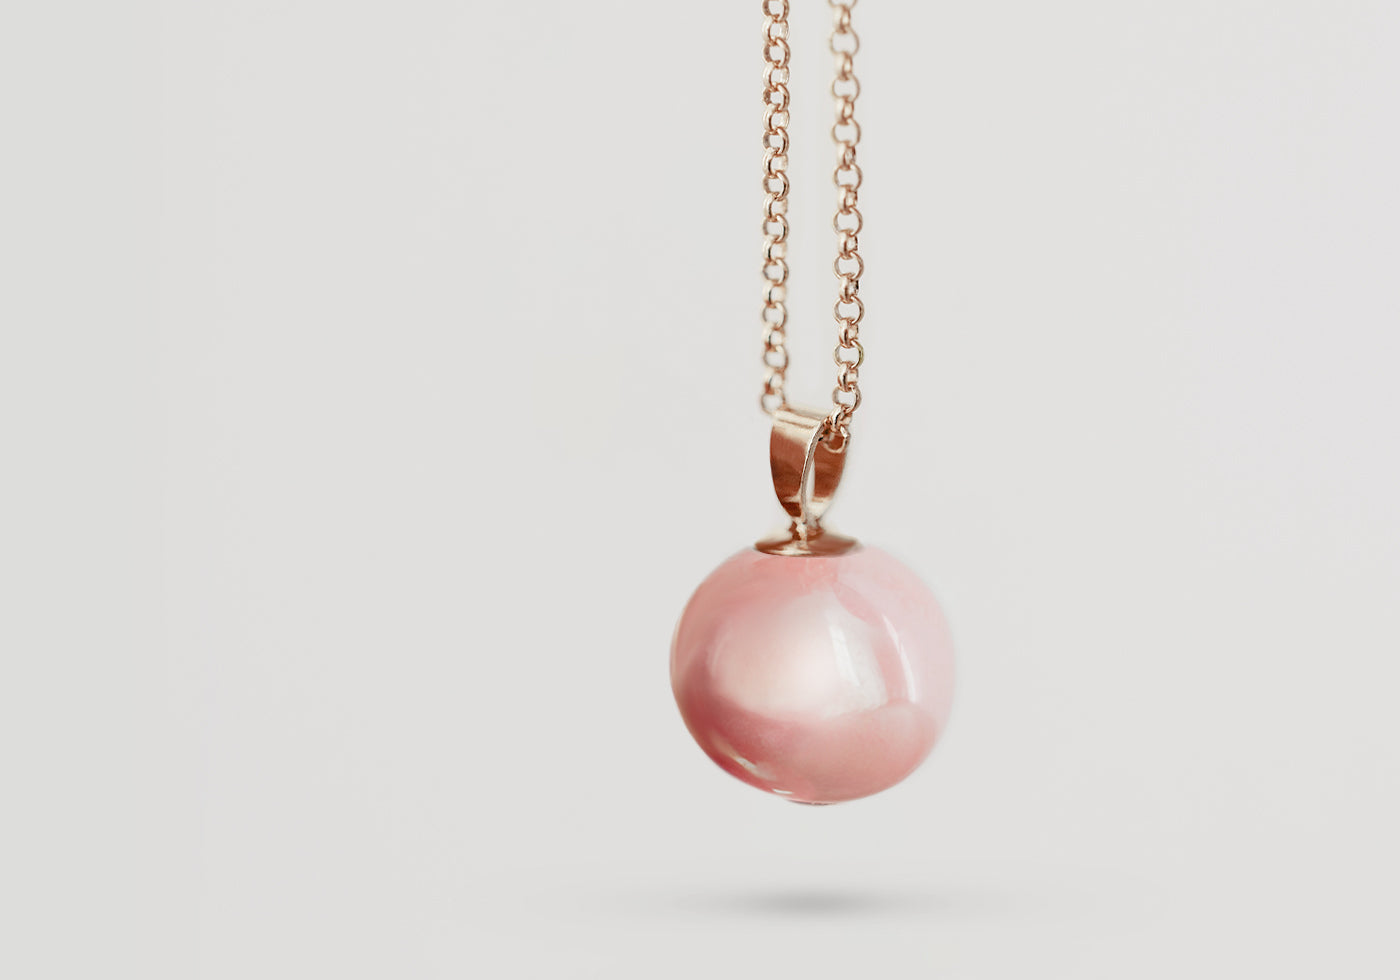
Here’s how to personalize the ‘Pearl with a Soul’:
cut it, fill it, twist it, drop it
First, you’ll need a small strand of hair from your favourite person, a little fur from your spirit animal, or a tiny amount of ashes – it can be any hair that’s close to your heart. Open the packaging of your Pearl with a Soul and take out the instructions. Place the strand of hair or the ashes in the mini-lab. Then follow a few simple steps until the material breaks down into its constituent elements. The resulting liquid is full of your very own personal elements and is carefully poured into your ceramic bead – transforming it into a truly personal piece of jewellery.
1. Prepare a strand of
hair or some ash
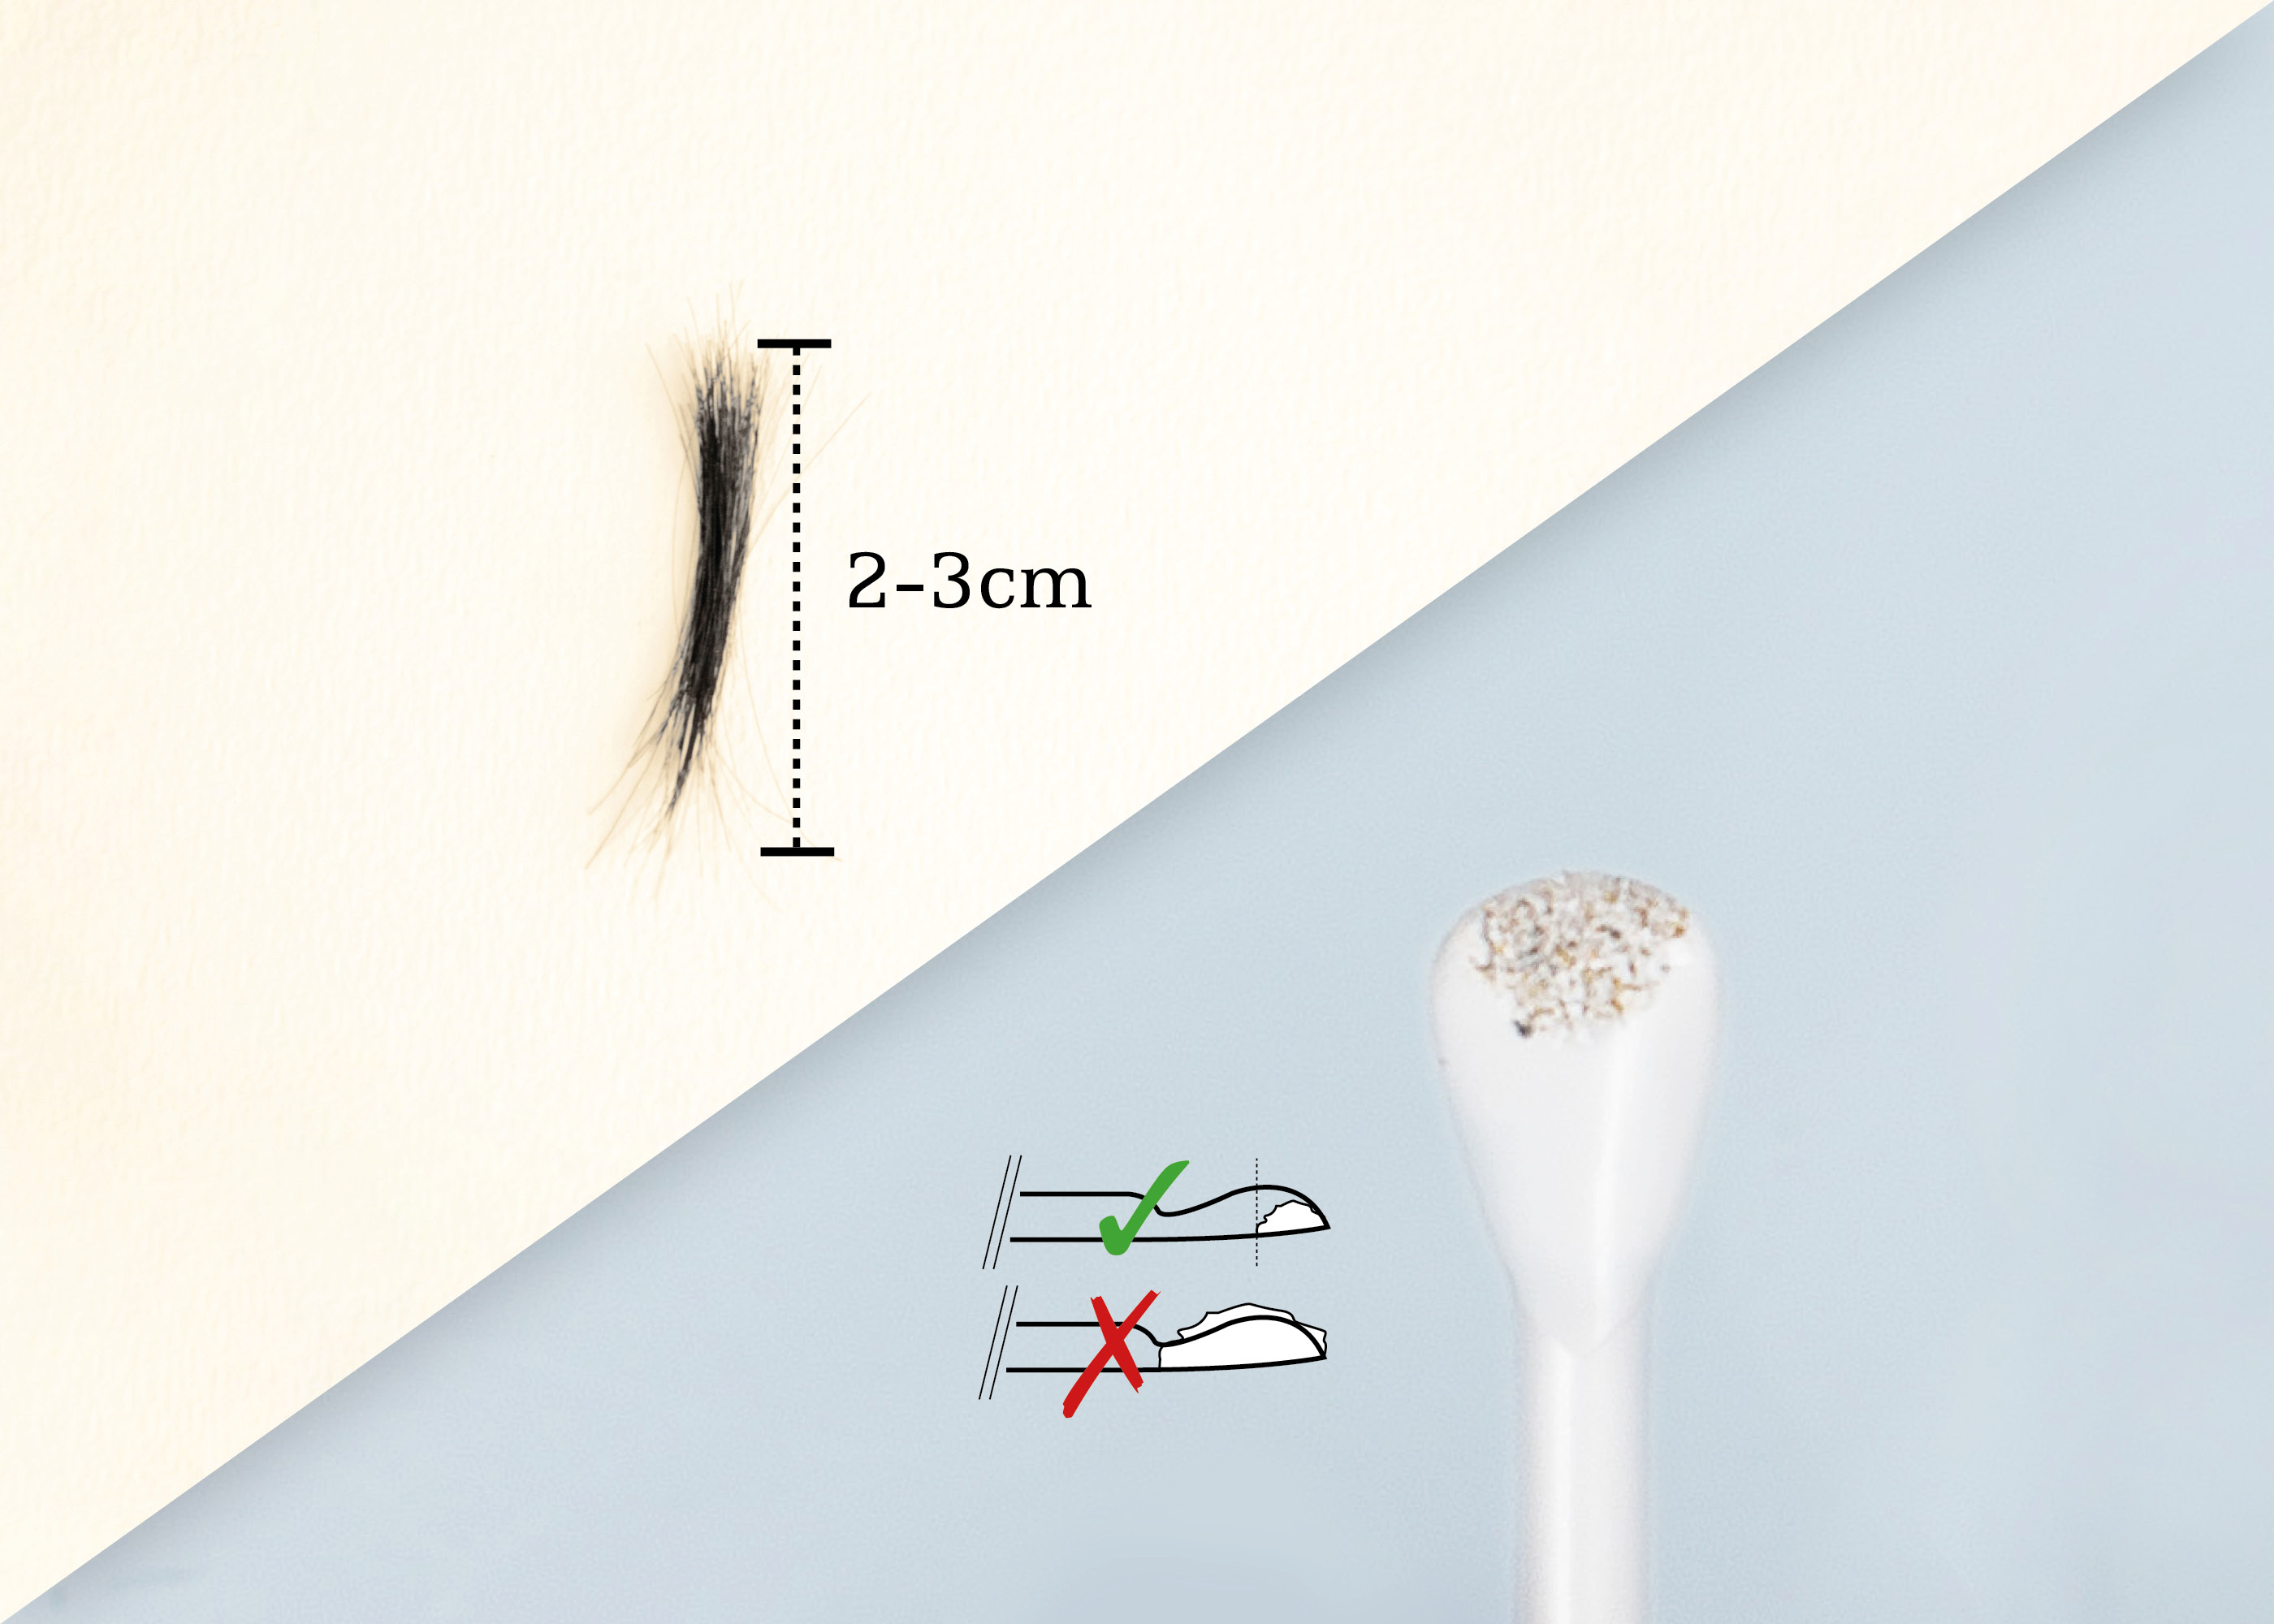
Cut off a small strand (approx. 2 cm long) or use the ash scoop provided to scoop up a small amount of ash (see illustration). The mini-lab can be filled with hair or ash – tip: you can also put hair and ash in together.
- It doesn’t matter what sort of hair it is – any type of hair is fine.
- Hair from several people can also be mixed together.
- Of course, animal hair can also be used.
With ashes:
- Please take care not to use too much ash; see the illustration.
- Ideally, only add fine ash particles to the mini-lab (Bead Personalizer).
2. fill it: Put hair or ash
into the mini-lab
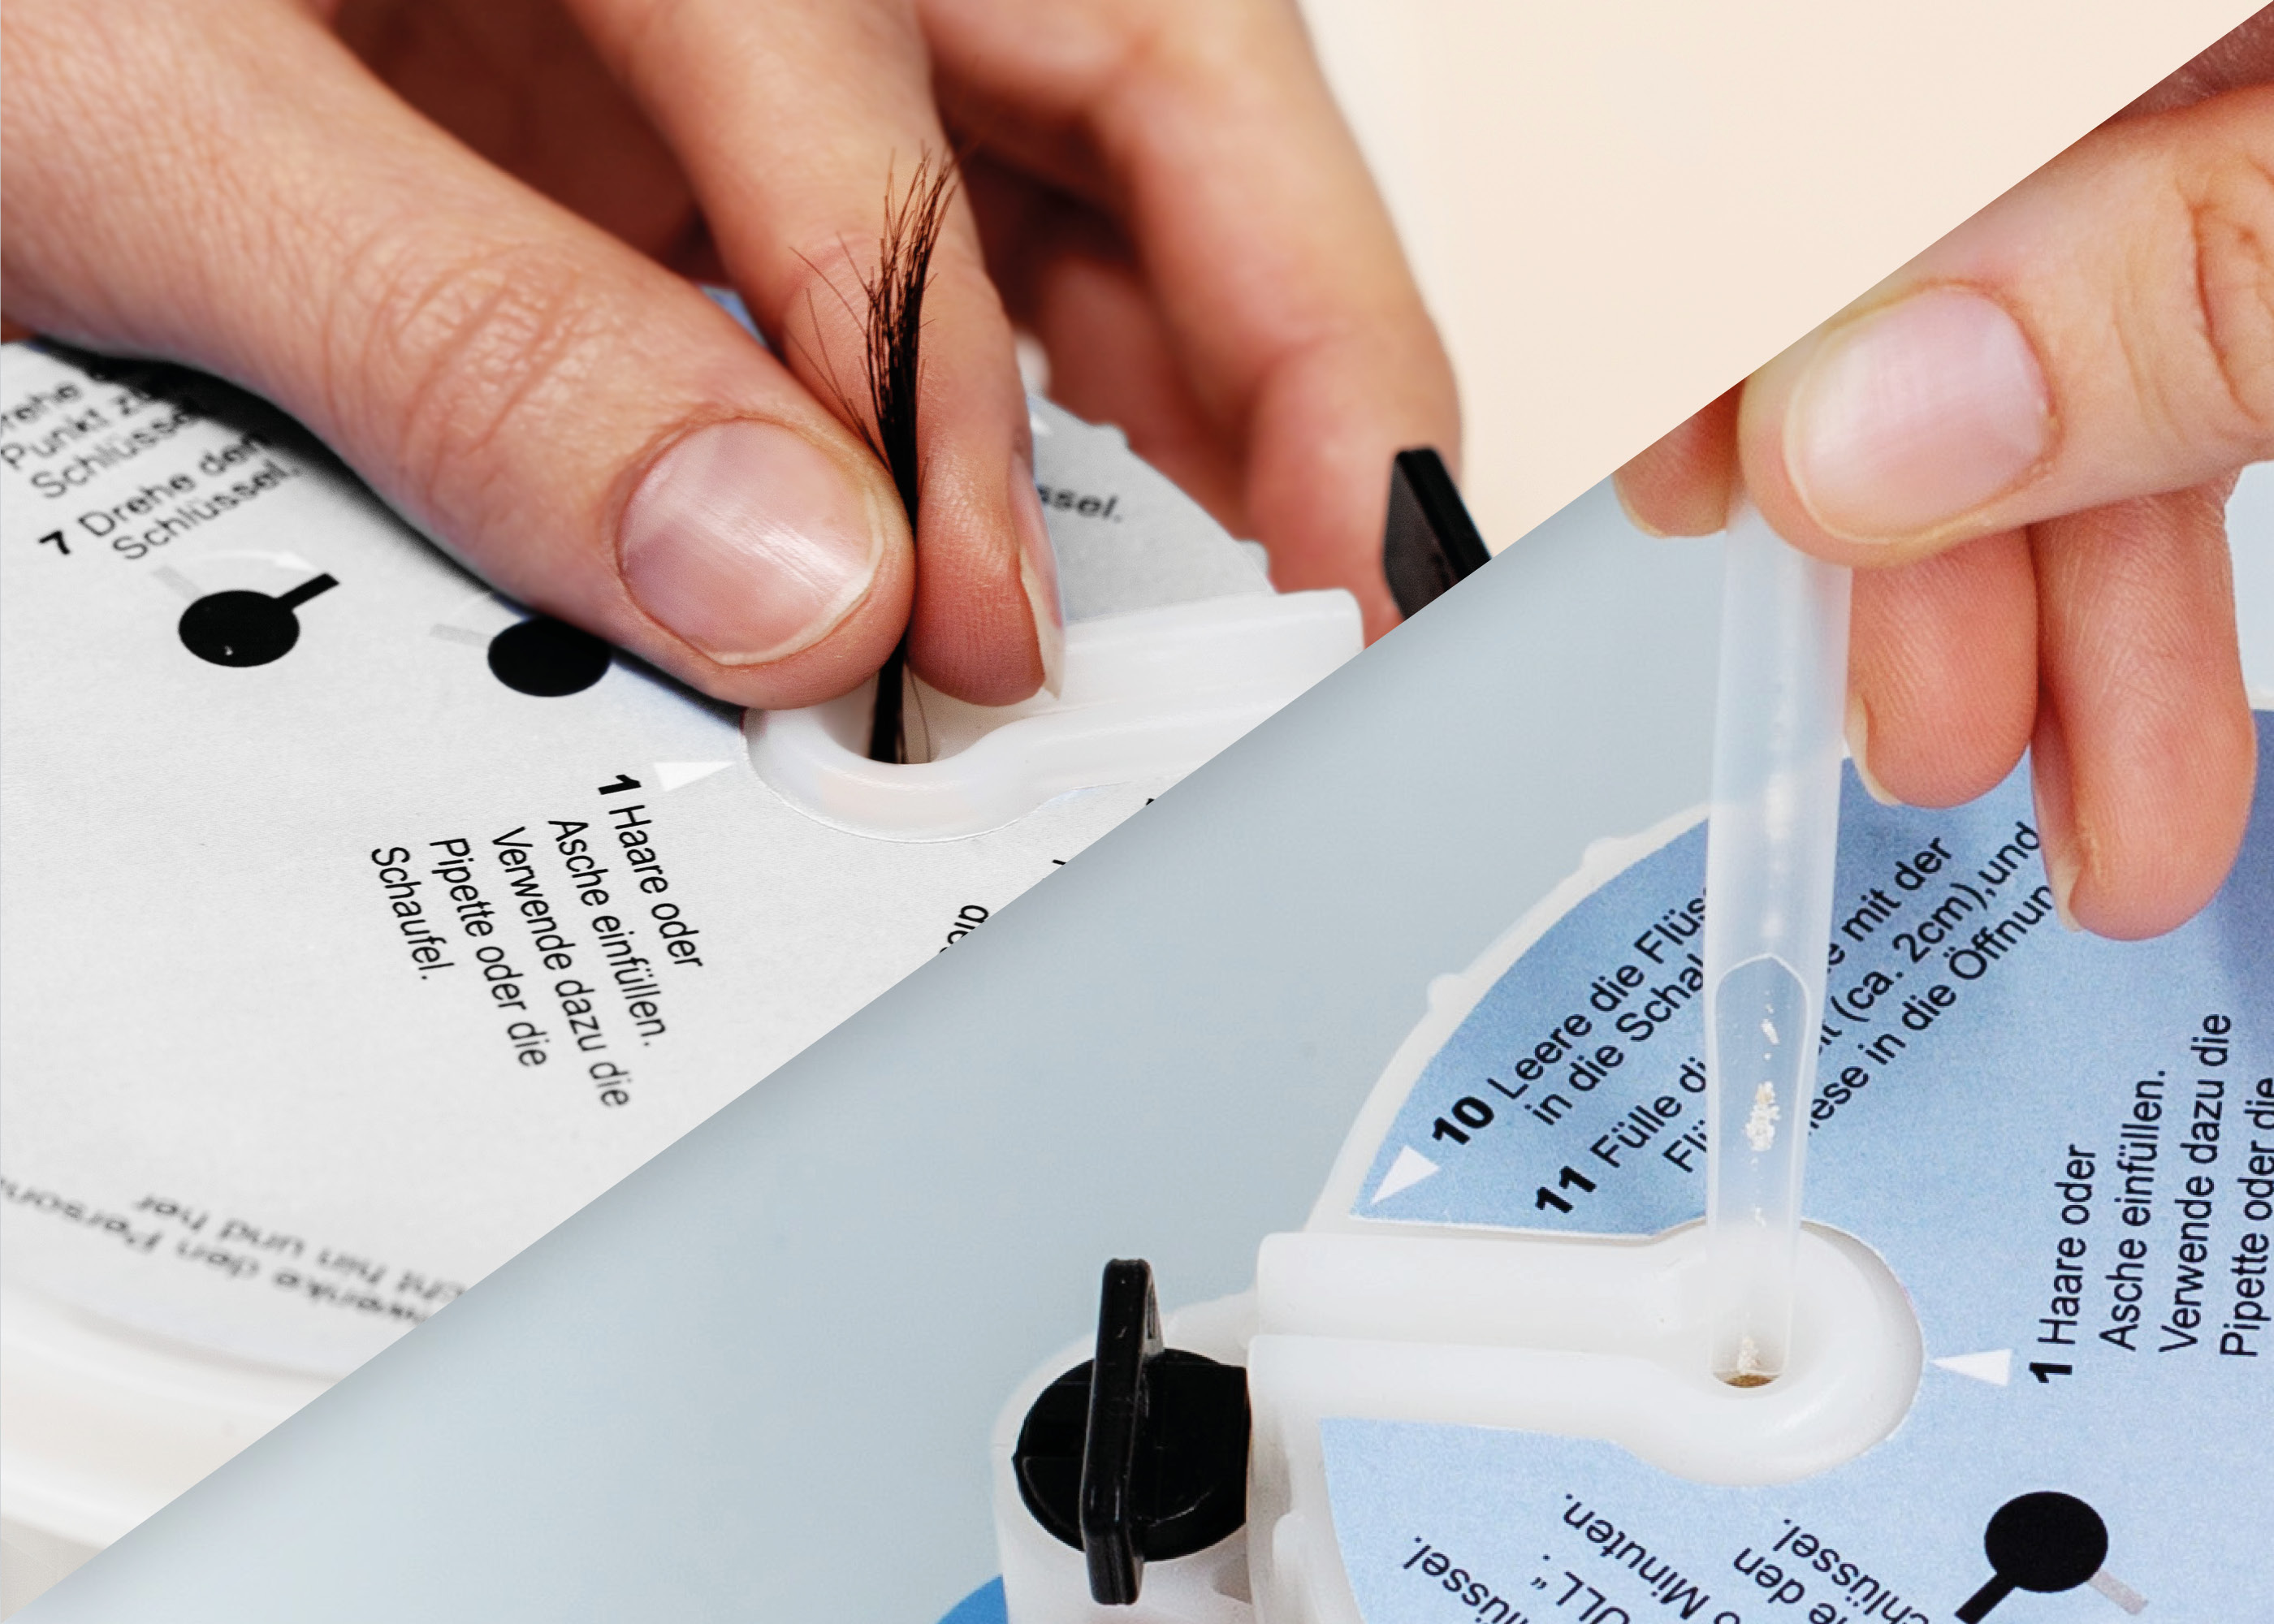
- The easiest way to put the hair into the mini lab is to form a ball of hair. Use the wooden stick to stuff the ball of hair into the opening of the mini lab and push it right to the bottom.
- If the hair is too short to form a ball, take a strand and let it fall into the opening. Use the wooden stick to push it right down to the bottom as well.
- The ash spatula can also be used to help fill the mini-lab
by twisting it. Tilt it slightly and insert the other end into the opening of the mini-lab.
3. twist it:
Operate the mini-lab
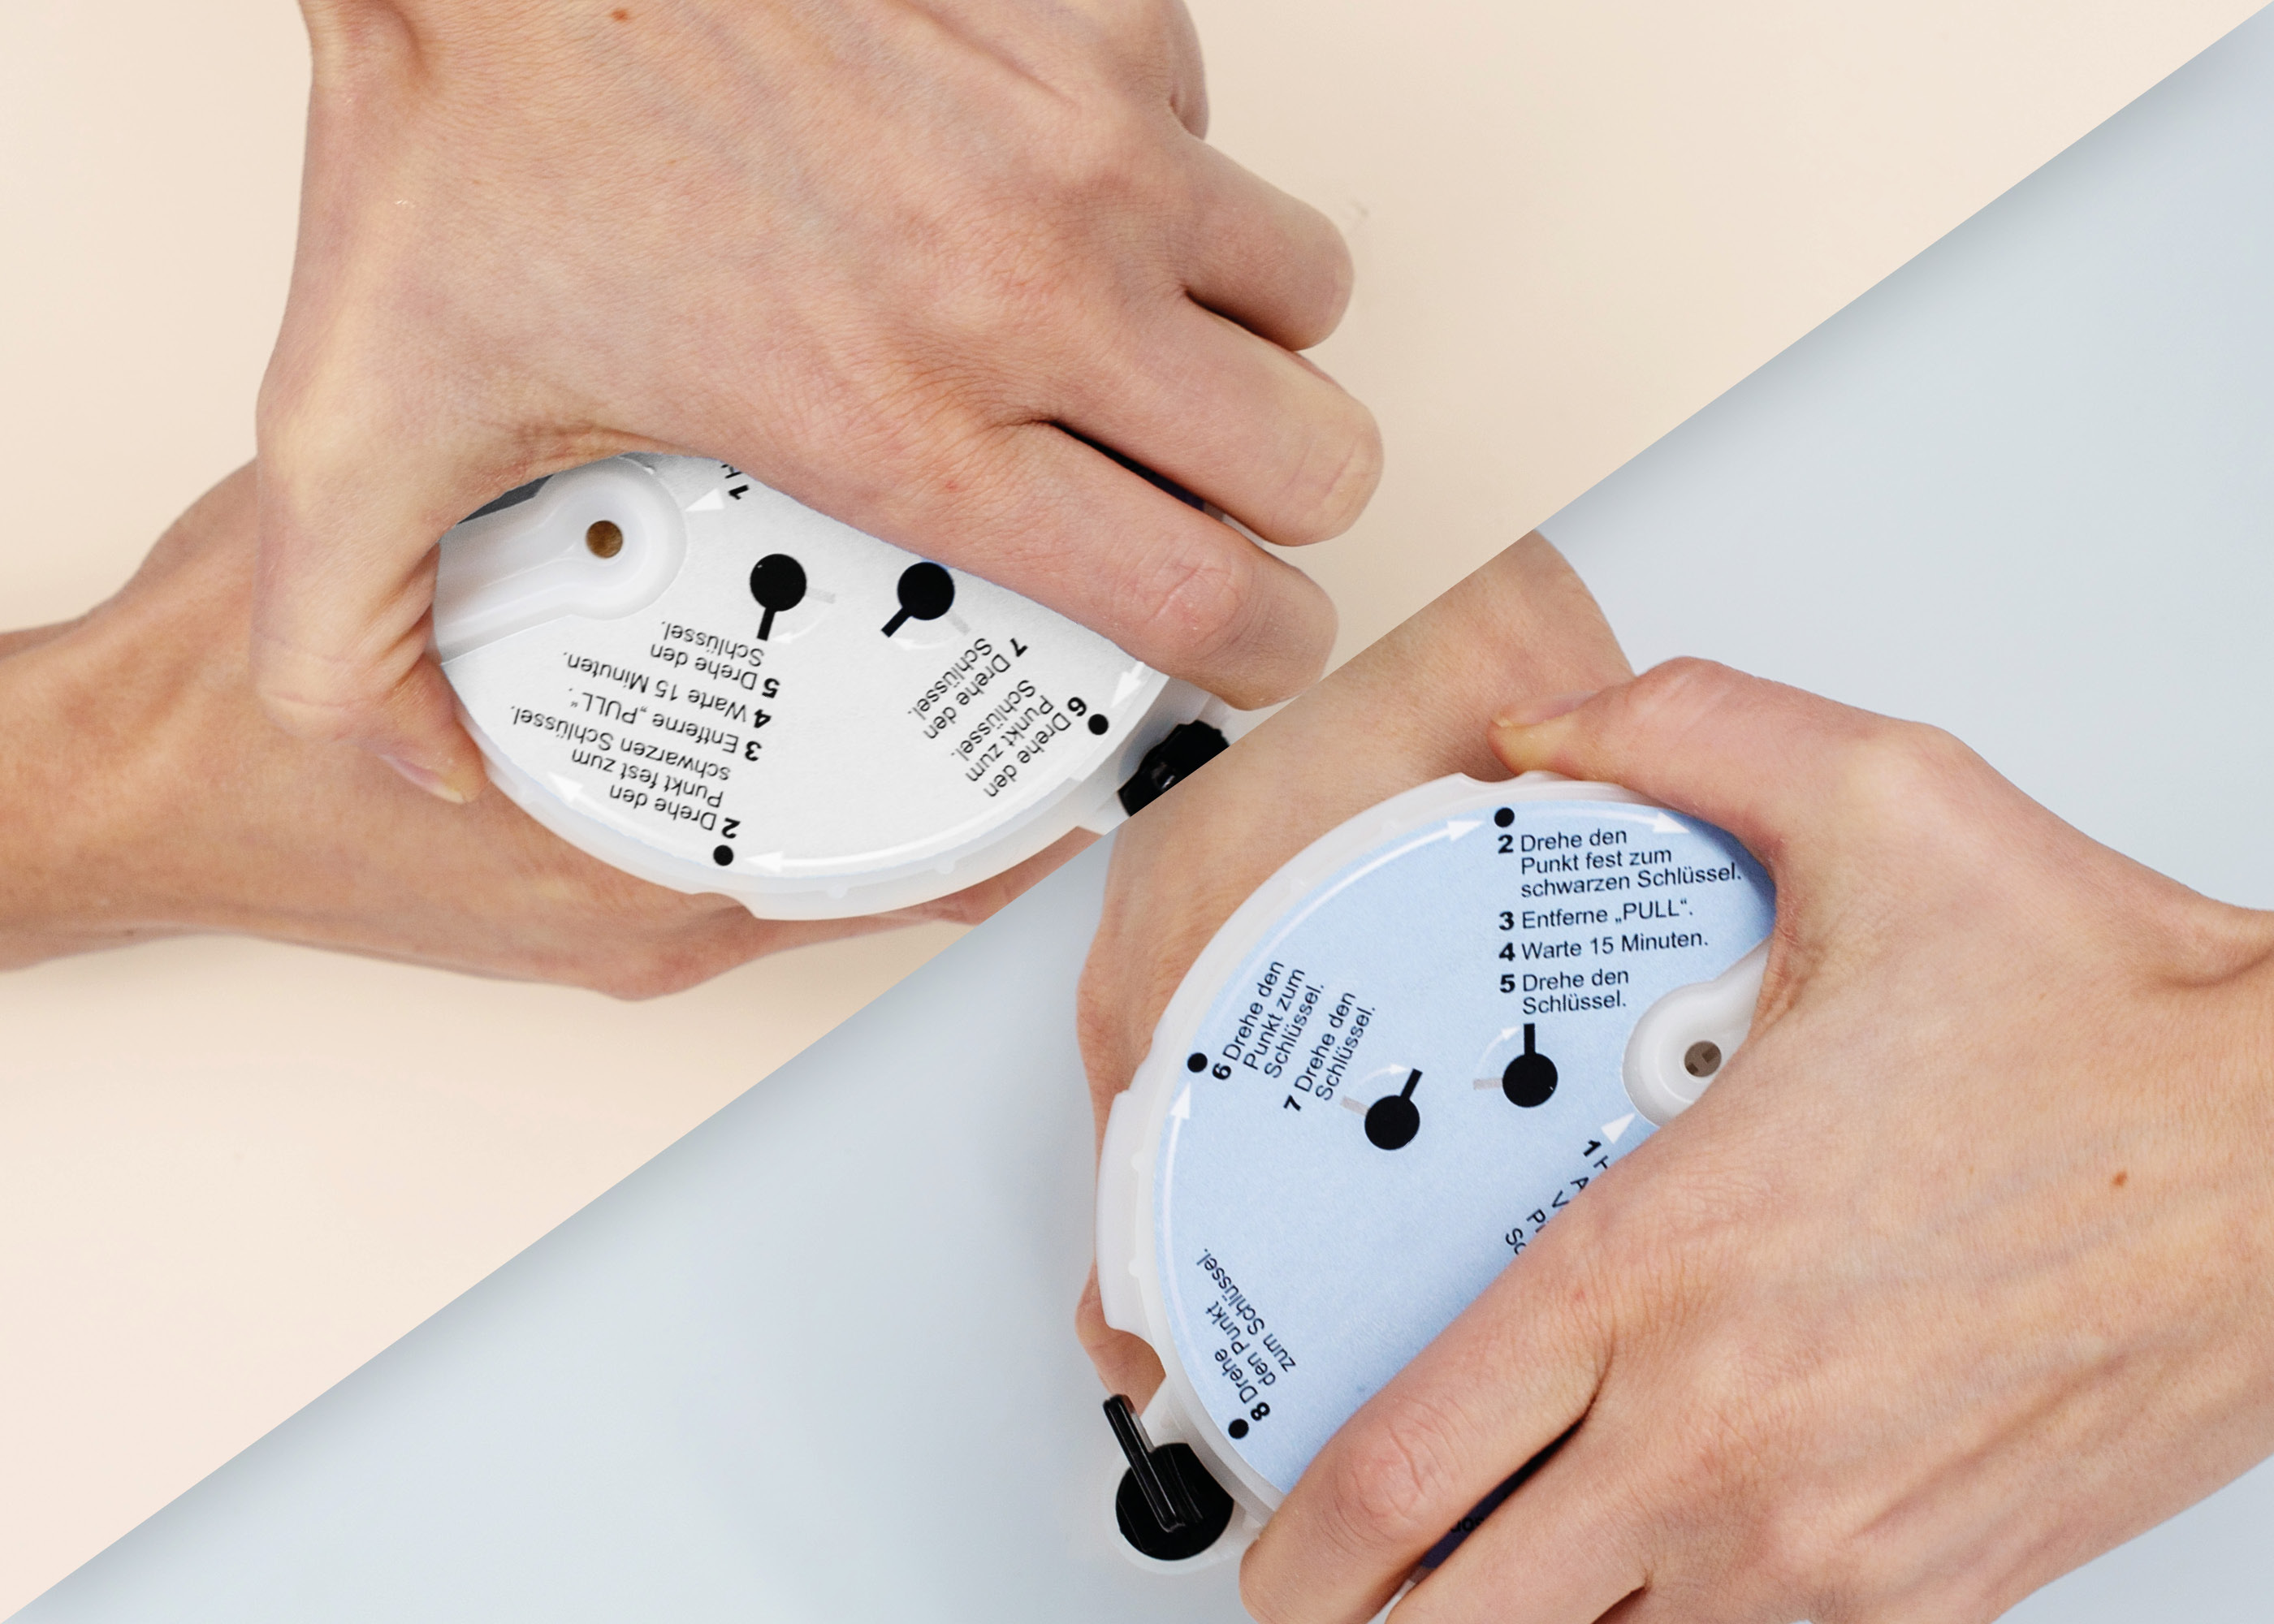
4. Drop the liquid
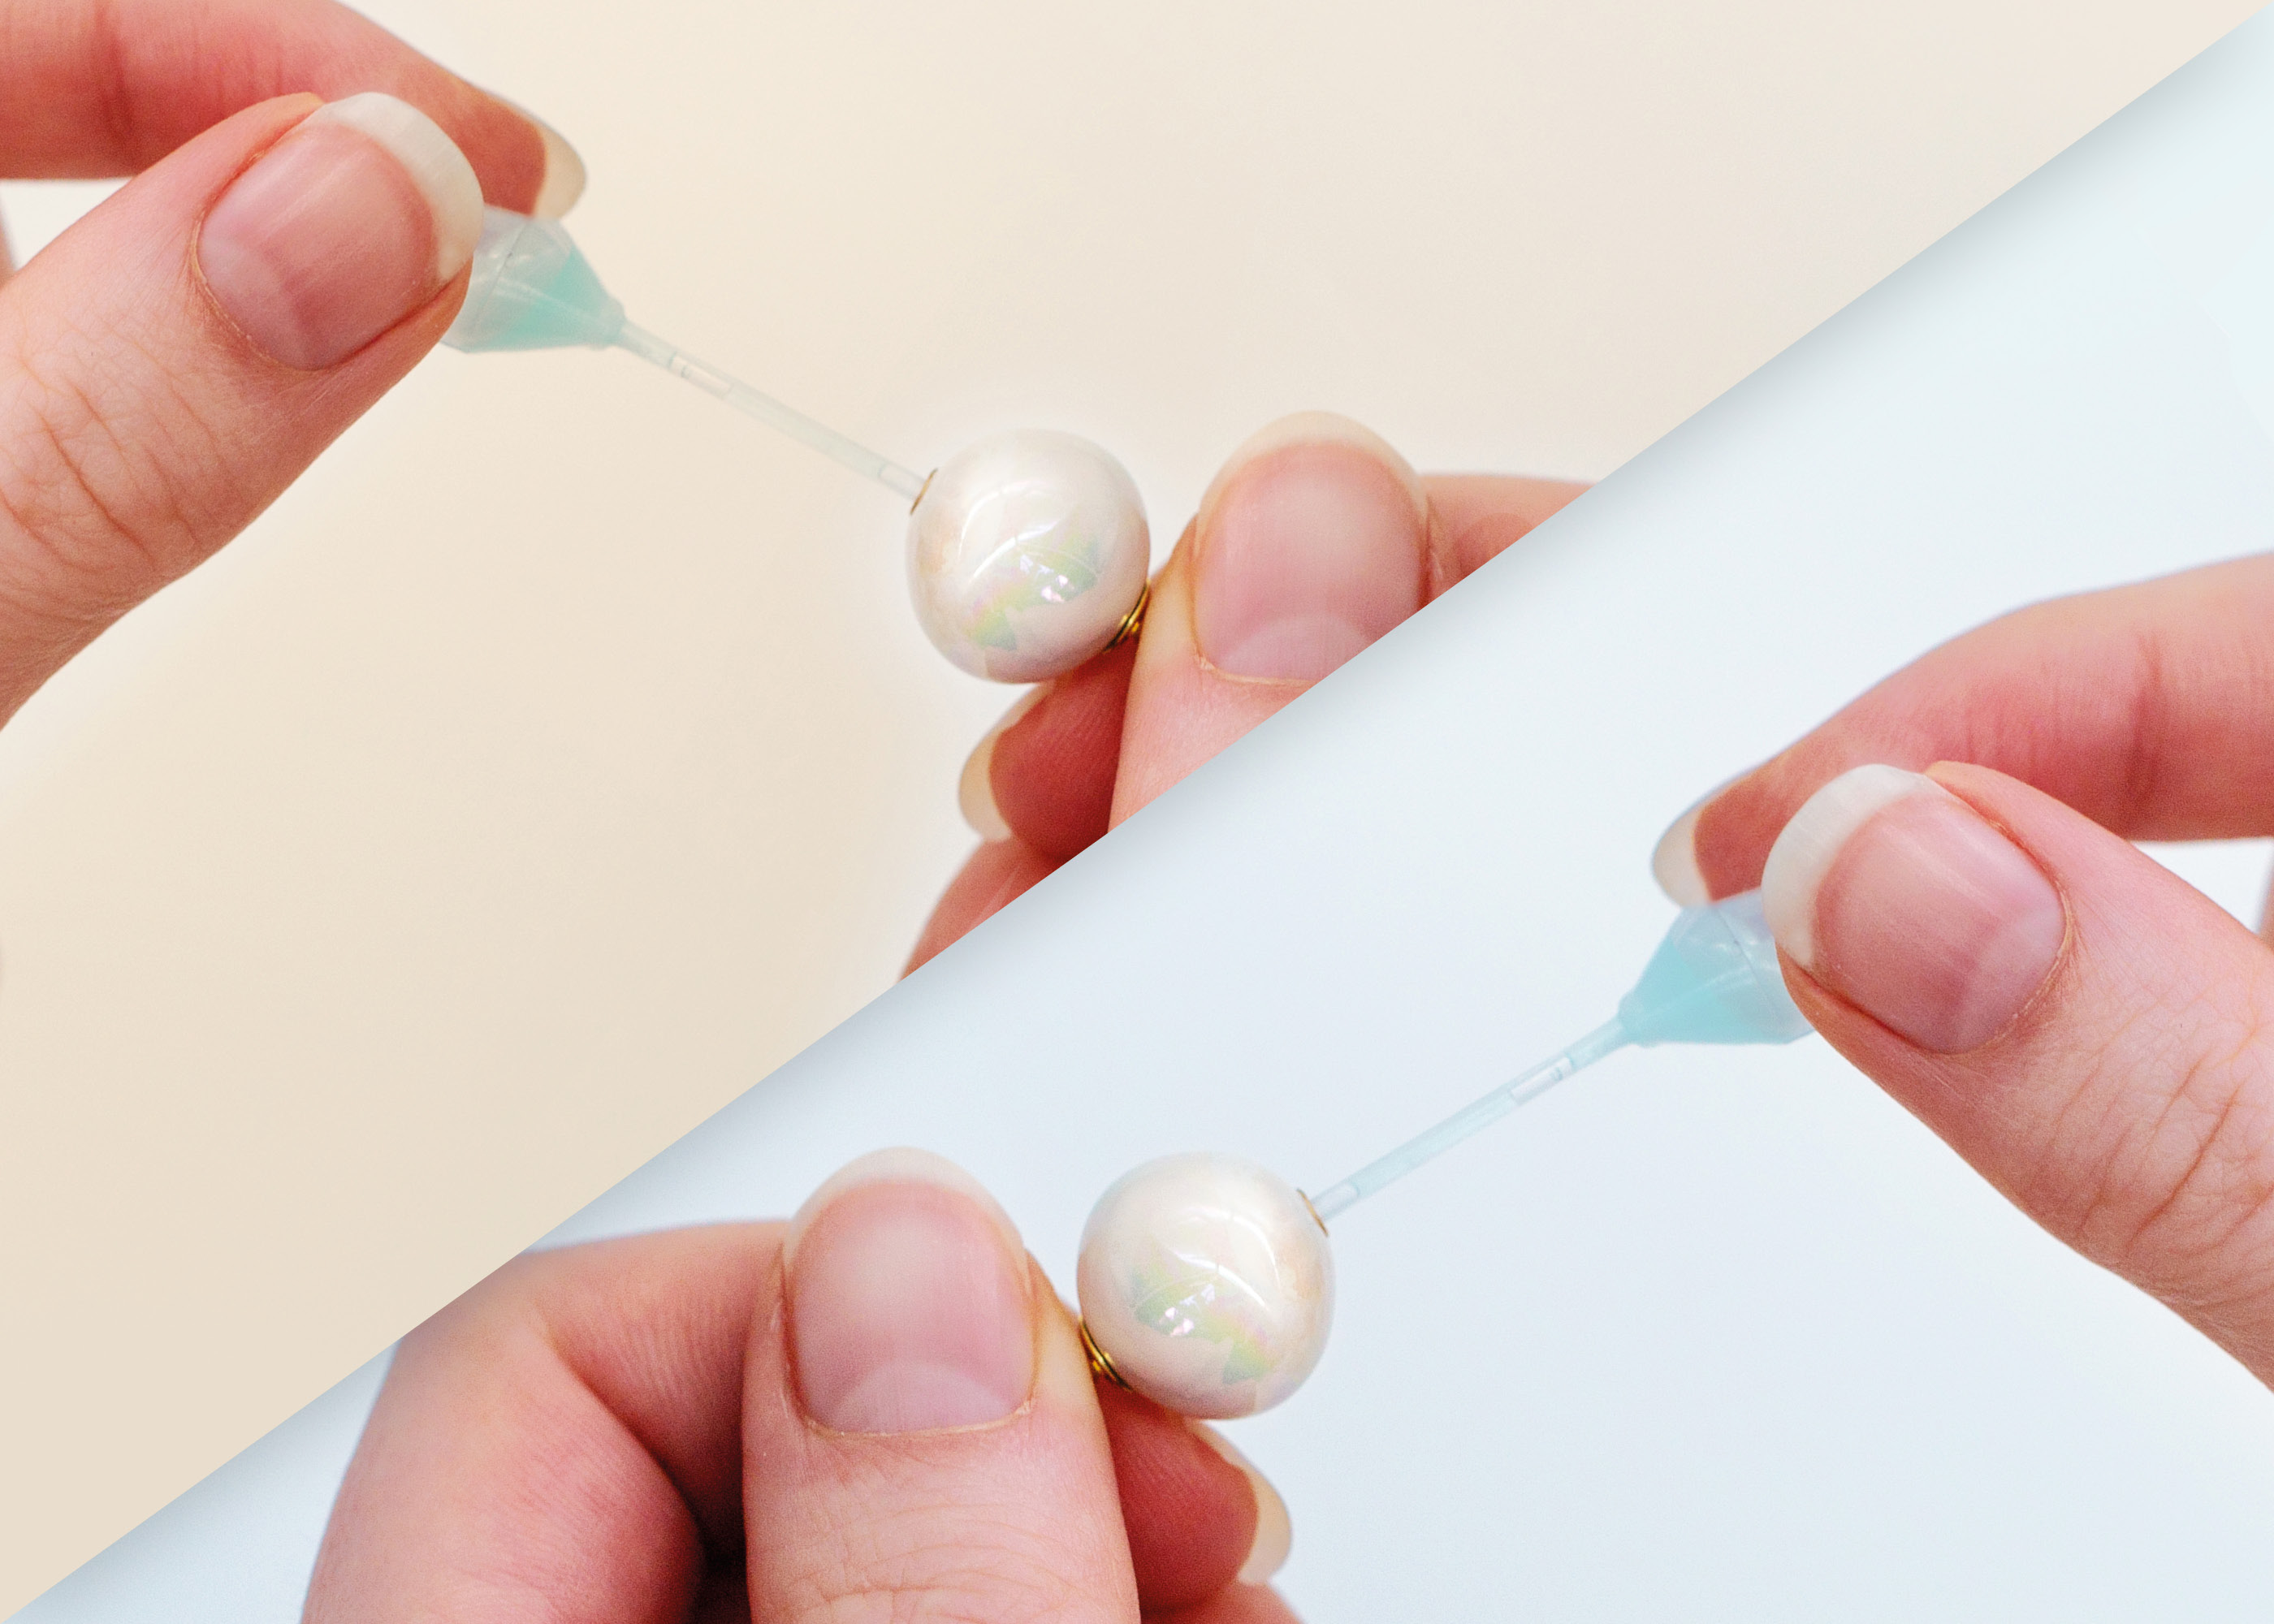
into your bead
Once the process is complete, pour the personalised liquid from the mini-lab into the small bowl provided. Use the pipette to draw up the liquid and guide it into the opening of the bead. Drip the liquid inside – and your piece of jewellery is now personalised with your elements
The specially developed material of the ‘Pearl with a Soul’ absorbs the liquid immediately. The liquid obtained is enough to personalise up to 5 pearls.
We hope you enjoy the most personalised piece of jewellery from We
Instructions for Use
To personalize your ‘Pearl with a soul’ correctly and safely, please follow
the instructions for use carefully.
In addition, our video tutorials
show you every step:
User Guide PDF | Video Guide: Hair & Ashes | Video Guide: ‘Just’ Personalisation Option | Video Guide: How to Wear the Mevisto Bracelet Correctly